
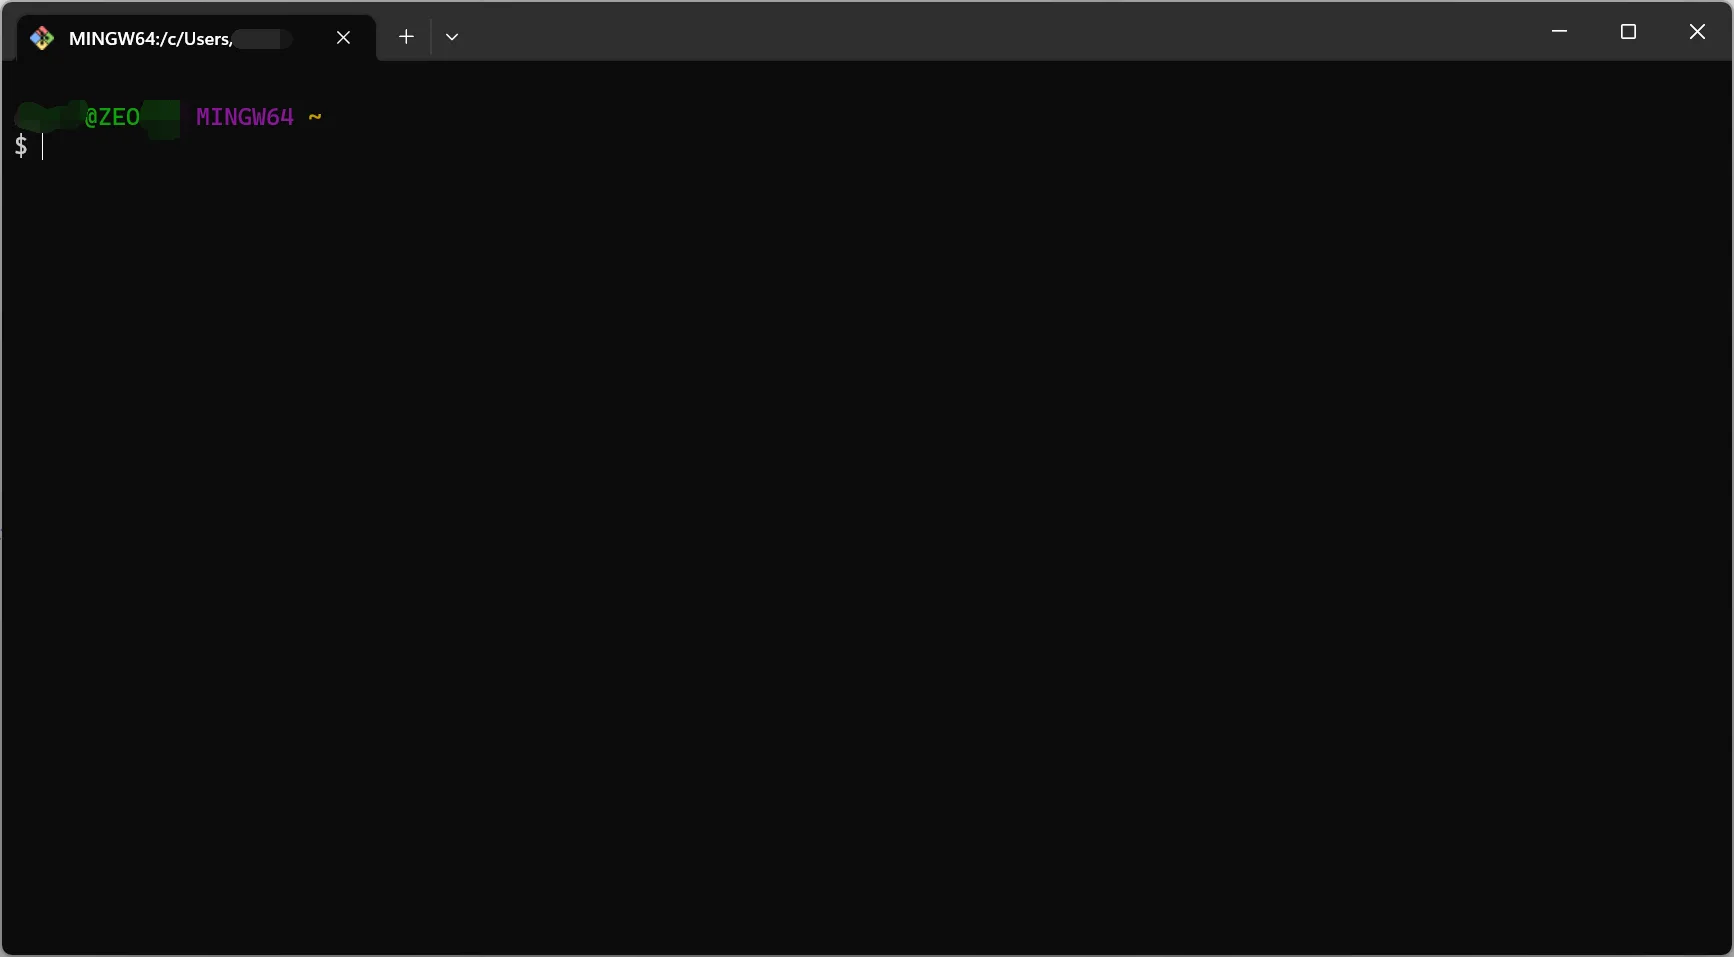
# 1. 打开 Git Bash
# 2. 检查现存的SSH密钥
$ ls -al [your .ssh directory]

e.g. (默认位置:~/.ssh)
$ ls -al ~/.ssh
如果提示 No such file or directory 则表明此位置没有 SSH 密钥对,可以在下一步创建新的 SSH 密钥对。
# 3. 生成新的SSH密钥
How to use ssh-keygen to generate a new SSH key: https://www.ssh.com/ssh/keygen/
RSA、DSA、ECDSA、EdDSA 和 Ed25519 的区别 - Librarookie - 博客园 https://www.cnblogs.com/librarookie/p/15389876.html
$  ssh-keygen -t ed25519 -C "[your_email@example.com]"

> Generating public/private ed25519 key pair.
# 3.1. 存储新的SSH密钥
提示 Enter file in which to save the key(输入要保存密钥的文件)时,输入密钥文件的保存位置。(按Enter,将使用默认的文件位置C:\\Users\\you\\.ssh/id_rsa)
- 文件的保存位置,不是文件夹(我一般新建一个文件之后覆盖)
# 3.2. 输入SSH密钥密码
提示Enter passphrase时,输入SSH密钥密码。
# 4. 将SSH密钥添加到 ssh-agent
# 启动ssh-agent
$ eval $(ssh-agent -s)

> Agent pid (number)
# 添加SSH私钥到 ssh-agent
$ ssh-add [path to your private key]
# ssh-add ~/.ssh/id_ed25519
# 4.1. 扩展
# 列举 ssh-agent 管理的密钥
ssh-add -L
# 列举 ssh-agent 管理的密钥的指纹(哈希结果)
ssh-add -l
# 删除 ssh-agent 管理的密钥
ssh-add -d [存入时,私钥的地址] # (存入后,修改地址是无用的,因为 ssh-agent 把私钥放到内存中了)
# 关闭当前 ssh-agent 实例(清除所有已加载的密钥)
ssh-add -k
# 5. 在 git 站点中添加公钥
拷贝公钥 .pub 文件到剪切板
clip < [.pub 文件地址(一般和私钥在一起 ~/.ssh/..)]
# 或查看公钥内容手动复制
cat [.pub 文件地址]
将信息粘贴到 git 站点的 ssh 文件列表中。
# 5.1. SSH 公钥 管理页面直达链接
- Add new SSH keys - GitHub : https://github.com/settings/ssh/new
- 个人设置 - 阿里云 云效 : https://account-devops.aliyun.com/settings/ssh
# 6. 验证连接
# 验证连接
$ ssh -T git@xxx.com
当出现类似警告
> The authenticity of host 'github.com (IP ADDRESS)' can't be established.
> RSA key fingerprint is 16:27:ac:a5:76:28:2d:36:63:1b:56:4d:eb:df:a6:48.
> Are you sure you want to continue connecting (yes/no)?
或
> The authenticity of host 'github.com (IP ADDRESS)' can't be established.
> RSA key fingerprint is SHA256:nThbg6kXUpJWGl7E1IGOCspRomTxdCARLviKw6E5SY8.
> Are you sure you want to continue connecting (yes/no)?
验证警告消息中的指纹后,输入 yes
> Hi username! You've successfully authenticated, but xxxx does not provide shell access.
# 7. 在 Git for Windows 上自动启动 ssh-agent
参考:https://docs.github.com/cn/github/authenticating-to-github/working-with-ssh-key-passphrases
设置在打开 bash 或 Git shell 时自动运行 ssh-agent 。拷贝粘贴以下内容到 Git shell 中的 ~/.profile 或 ~/.bashrc 文件中:
~/.profile会在用户登录时执行~/.bashrc会在用户启动 bash shell 时执行
env=~/.ssh/agent.env

agent_load_env () { test -f "$env" && . "$env" >| /dev/null ; }

agent_start () {
    (umask 077; ssh-agent >| "$env")
    . "$env" >| /dev/null ; }

agent_load_env

# agent_run_state: 0=agent running w/ key; 1=agent w/o key; 2=agent not running
agent_run_state=$(ssh-add -l >| /dev/null 2>&1; echo $?)

if [ ! "$SSH_AUTH_SOCK" ] || [ $agent_run_state = 2 ]; then
    agent_start
    ssh-add
elif [ "$SSH_AUTH_SOCK" ] && [ $agent_run_state = 1 ]; then
    ssh-add
fi

unset env
# 8. 【可选】Git 多账号管理
一对密钥的公钥是可以存放到多个仓库的,请根据自身需求考虑,是否需要配置多对密钥
新建或修改 ~./ssh/config
Host github.com
    HostName github.com
    IdentityFile ~/.ssh/id_ed25519_git_zeo

Host gitee.com
    HostName gitee.com
    IdentityFile ~/.ssh/id_ed25519_git_zeo
- Host 为仓库别名,
git@github.com后边那串 - HostName 主机名
- IdentityFile 私钥位置
管理部署密钥 - GitHub Docs: https://docs.github.com/zh/authentication/connecting-to-github-with-ssh/managing-deploy-keys#using-multiple-repositories-on-one-server
# 9. 附:添加或更改密码
参考:https://docs.github.com/cn/github/authenticating-to-github/working-with-ssh-key-passphrases
$ ssh-keygen -p
# Start the SSH key creation process
> Enter file in which the key is (/Users/you/.ssh/id_rsa): [Hit enter]
> Key has comment '/Users/you/.ssh/id_rsa'
> Enter new passphrase (empty for no passphrase): [Type new passphrase]
> Enter same passphrase again: [One more time for luck]
> Your identification has been saved with the new passphrase.
# 10. Q&A
# 10.1. 每次 SSH 登录后,克隆或拉取仓库仍需要登录
克隆或拉取时选择 SSH 链接。
# 11. 参考
使用 SSH 连接到 GitHub https://docs.github.com/cn/github/authenticating-to-github/connecting-to-github-with-ssh
服务器上的 Git - 生成 SSH 公钥 https://git-scm.com/book/zh/v2/服务器上的-Git-生成-SSH-公钥